It feels annoying when we can’t see our MacBook screen clearly as it’s too dark because the light intensity around us is high. So do when our MacBook screen looks too bright in a dark room.
Starting from now on, you don’t have to feel that kind of annoyance. I am going to show you How to Adjust MacBook Screen Brightness both manually and automatically.
Quick Step
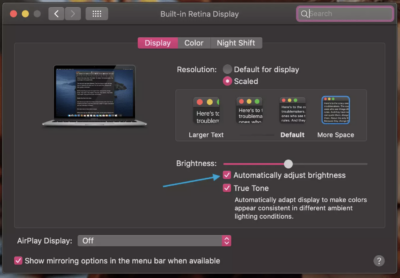
Click Apple > Click System Preferences > Displays > Move the slider/Tick the Automatically adjust brightness
1. Find the Apple icon in the top left corner of your MacBook screen. Then click it.
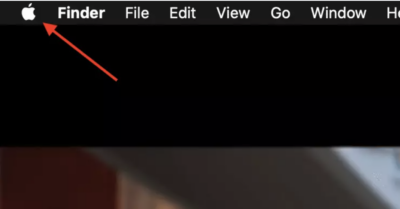
2. After the menu appears, choose System Preferences.
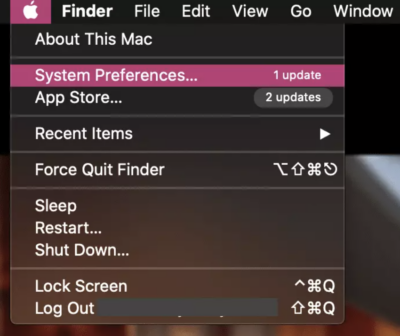
3. Find Displays menu and click it.
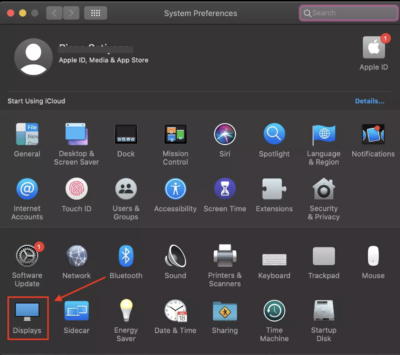
4. Move the slider to the right to make the screen brighter and move it to the left to make it darker.
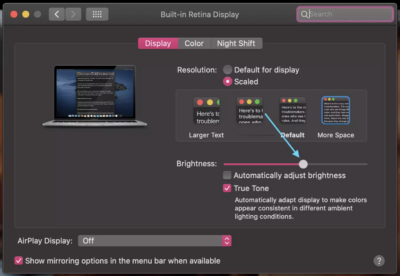
5. You can also set your MacBook screen to adjust its brightness automatically by marking the menu Automatically adjust brightness.
For those who are using MacBook Air or MacBook Pro with no touch bar there is actually an easy way to adjust screen brightness manually. Now, let me show you how to do it.
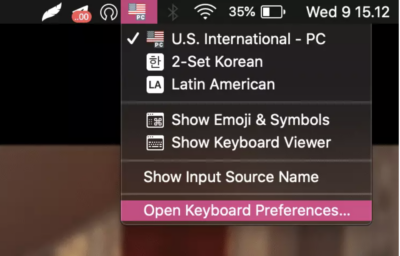
1. Choose menu Open Keyboard Preferences
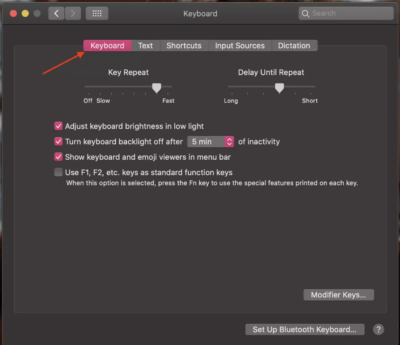
2. Click the Keyboard tab
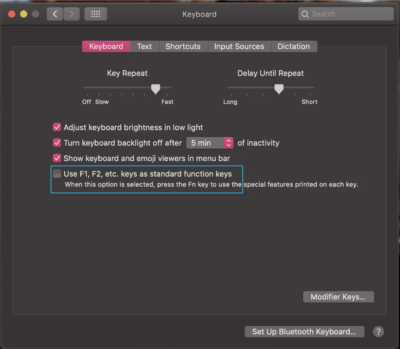
3. Now, make sure the last point that said “Use F1, F2, etc. as standard function keys” is unticked.
It’s time for you to see your keyboard. Pay attention to the F1 and F2. If you want to reduce the brightness of your MacBook screen, press F1. You can press it many times until you find the most comfortable brightness for you. Then, if you want to increase the brightness, press F2. It works the same way as you darken your screen. Press F2 many times until you find its best brightness.

Well, that’s all for today’s article. Hope it is useful for you and don’t forget to stay tuned for our next articles.


