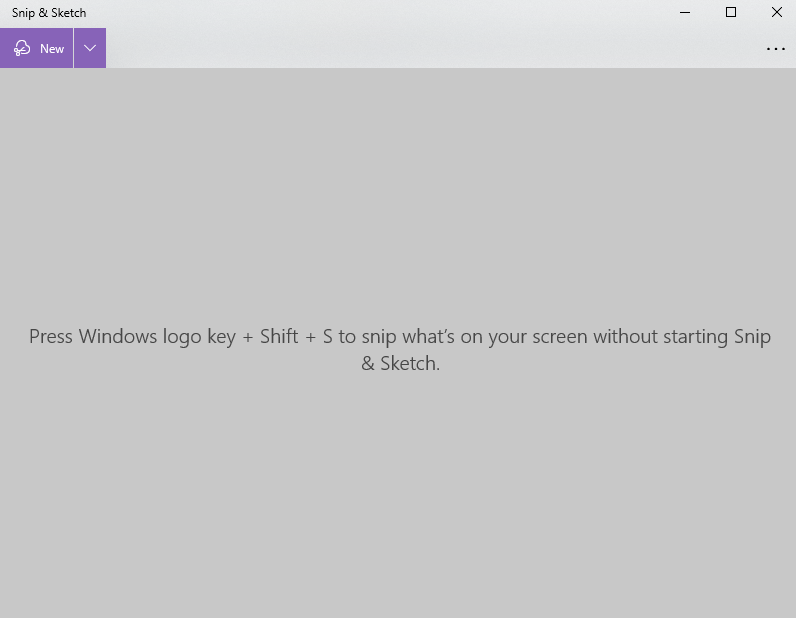
While the good old Ctrl + PrntScrn is convenient, the button placement is not always the most comfortable. Luckily, there is a way to take a screenshot on Windows using a built-in application called Sniping Tool. Here’s how to use it.
Quick-Step
Head to Start > Find Sniping Tool > Open the app > New > Adjust the crop shape
> Release
Another Way to make a Screenshot on Windows Than Ctrl + PrntScrn
1. On Windows 7 and 10, head over to Start and use the search bar to find Sniping Tool. On Windows 8 and 8.1, hover your mouse on the lower right side of the desktop screen and choose Search > Snipping Tool. At the time of the writing, the app has rebranded as Snip and Sketch, but the functionality is the same.

2. Open the app and tap New or Windows Logo Key + Shift + S. Adjust the crop shape, move your mouse to crop and it will automatically capture the screen accordingly.

The weakness of the screenshot software from windows is that it does not display the size of the screenshot area. Bloggers like me, of course, need the size of the screenshot image so that the images displayed on the blog look good. For example, the width of the image that must be uploaded on the blog is 720 px, but because of Snip and Sketch, the draft that we submit will be rejected by the editor.
If you need screenshot software that can display image sizes, you can use Lightshot. This is a freeware that can run on Windows and Mac.
You can download the Lightshot website at prntscr.com and install it on Windows. To use it, just press the Print Screen button.
And that’s pretty much how to do it! Hopefully, this article is useful. Let us know what you think in the comments below!


