There are various cloud storage services that exist recently. Those who are using Mac will know that in Apple ecosystem itself there is the iCloud. But it doesn’t mean that Mac users can’t install or use any other cloud storage services outside the Apple ecosystem. One of those that we can install is OneDrive. Microsoft OneDrive is a file hosting service and synchronization service operated by Microsoft as part of its web version of Office.
To know how to install and to use it, here are the steps of How to Install and Use Microsoft OneDrive on Your Mac or MacBook.
Quick-Step
Installing OneDrive: Launch AppStore > Search for OneDrive > Click GET > Click Install > move OneDrive to Application folder
Using OneDrive: Launch app > Create account/Sign in > Click OneDrive icon on menu bar > Click Turn On Finder Extension > Tick all options > Close the window > Launch the app > Upload your files
Microsoft OneDrive : Installing and Using it on Our Mac or MacBook
Installing OneDrive
1. Launch the AppStore on your Mac or MacBook. If you can’t find it, press Command + Space, type AppStore, then hit the Enter key.
2. Search for OneDrive
3. Now, click GET button.
4. Once the button change to Install, click Install.
5. Wait a moment until the download process has been done.
6. Once it’s done, move OneDrive app to the Application folder.
Using OneDrive
1. Launch the OneDrive you installed previously.
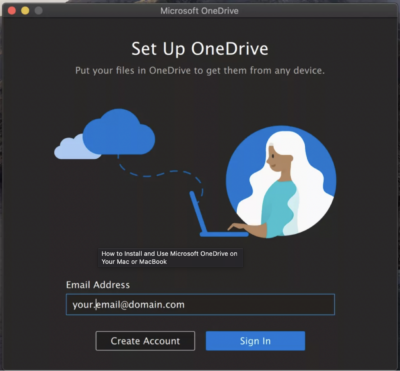
2. Input your email. If you already have a OneDrive account click Sign In, but if you don’t have account yet, click Create Account.

3. You will be redirected to your browser, and you need to Create Account or Sign In there first.
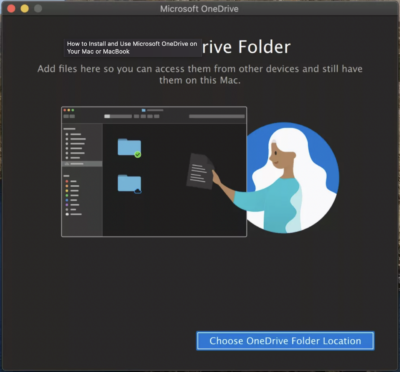
4. After you created account or signed in, back to the app, then Choose OneDrive Folder Location and finish its process until this step is finished.

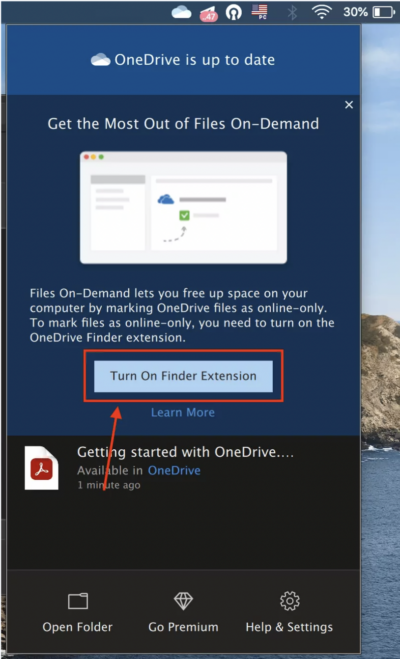
5. Now, find the cloud icon on the right toolbar of your screen, click Turn On Finder Extension.

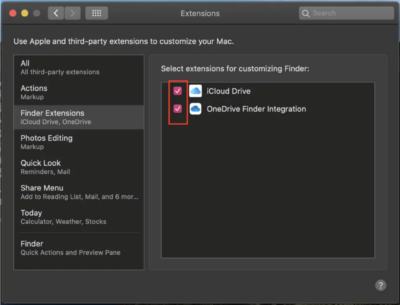
6. On the Extensions window, check all the checkboxes.

7. Then, close all windows related to OneDrive.
8. Press Command + Space, type OneDrive, and hit Enter.
9. When the OneDrive folder opened, you can move and save any of your files.
That’s it. Hope it’s useful for you. Don’t hesitate to share this with your friends so they will not get confused when they find a similar issue.
Thanks a lot for visiting nimblehand.com and see you. :))


