Although you can use the built-in snipping tool on Mac to take screenshots through hotkeys, no editing function that allows you to edit pictures. If you want to screen capture with an edit function, you need a professional snipping tool. Here are the 8 frequently used snipping tool alternatives on Mac you should know to have the best screen capture experience.
Guide List:
Part 1: Top 8 Snipping Tool Alternatives on Mac
Part 2: Comparison of 8 Snipping Tool Alternatives on Mac
Part 3: FAQs about Snipping Tool on Mac
Part 1: Top 8 Snipping Tool Alternatives for Mac
Top 1: AnyRec Screen Recorder
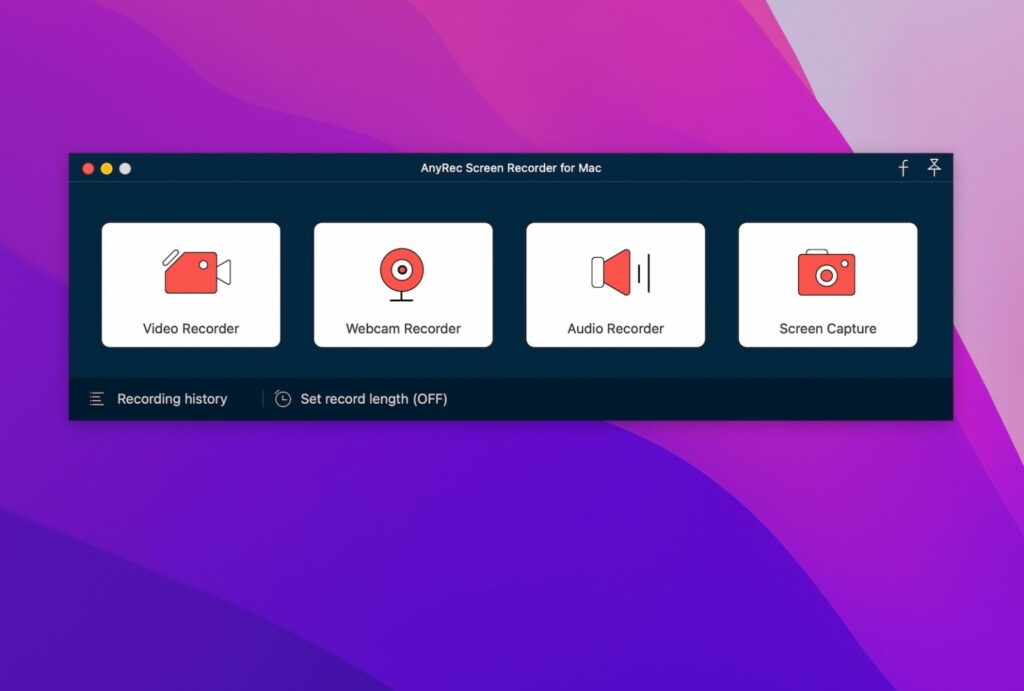
If you want to get a snipping tool on Mac with various editing features, AnyRec Screen Recorder must be the initial choice for you. You can use the editing function to edit screenshots, such as annotations, watermarks, lines, etc. You can also customize colors and fonts. Moreover, this snipping tool for Mac can capture scrolling screenshots or menu screenshots.
Pros:
- Customized hotkeys to snip on Mac quickly and easily.
- Support editing the captured pictures, such as annotations, watermarks, lines, etc.
- Save screenshots in various formats, including JPG, BMP, GIF, PNG, and TIFF.
- Take snaps for Mac with high output quality.
Cons:
- Require installation and download.
Top 2: LightShot
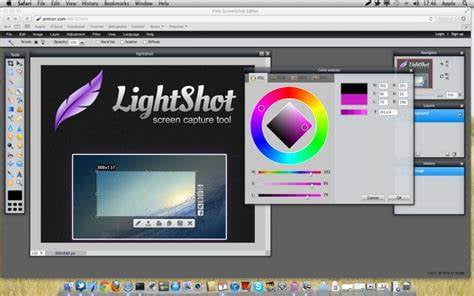
LightShot is an easy snipping tool for Mac that allows you to choose any area on your Mac and take its screenshot with 2 button clicks. It also provides a powerful editor to edit your screenshot instantly. And this tool can be compatible with many platforms, including Mac, Windows, and Chrome. Moreover, you can select any picture on your screen, and it will find dozens of similar images for you.
Pros:
- Support selecting any area on your Mac and taking its screenshot.
- Provide editing features and similar image research functions.
Cons:
- There will be problems when editing snaps.
- Using it to upload screenshots to the Internet will cause security risks.
Top 3: Snagit
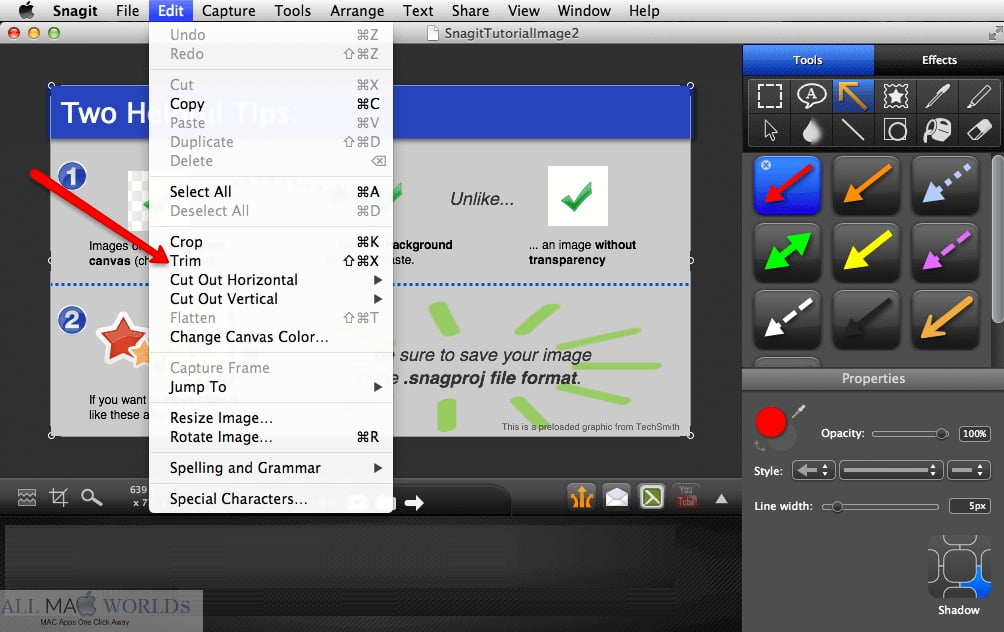
Snagit is a popular snipping tool, and you can also use it to snip on Mac. This snipping tool on Mac can easily grab vertical and horizontal scrollbars, infinite scrolling pages, long chat messages, and everything in between. Moreover, you can extract the text from a screen capture or file.
Pros:
- Simple interface with multiple features.
- Support drawing lots of screenshots to create a video or GIF.
Cons:
- Problems occur when using scrolling capture.
- This software will crash most of the time.
Top 4: Capto
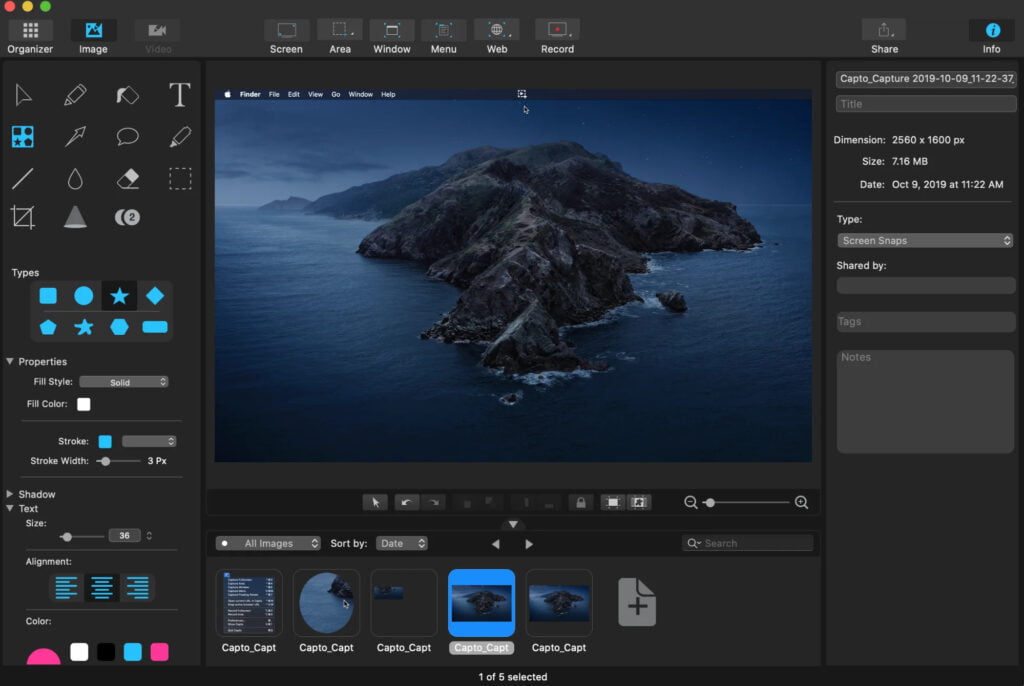
Capto is also a snipping tool on Mac that you can screen capture with one click. And it provides an image editor to annotate, correct, or adjust image attributes. Moreover, you can easily capture screenshots in different ways, such as shooting full screens or selecting parts as needed.
Pros:
- Support snap with full screen or select parts.
- Provide a screenshot editor to adjust the pictures.
Cons:
- The limited functions in the free version.
- Occasional performance issues when trying to import unsupported media
Top 5: Greenshot
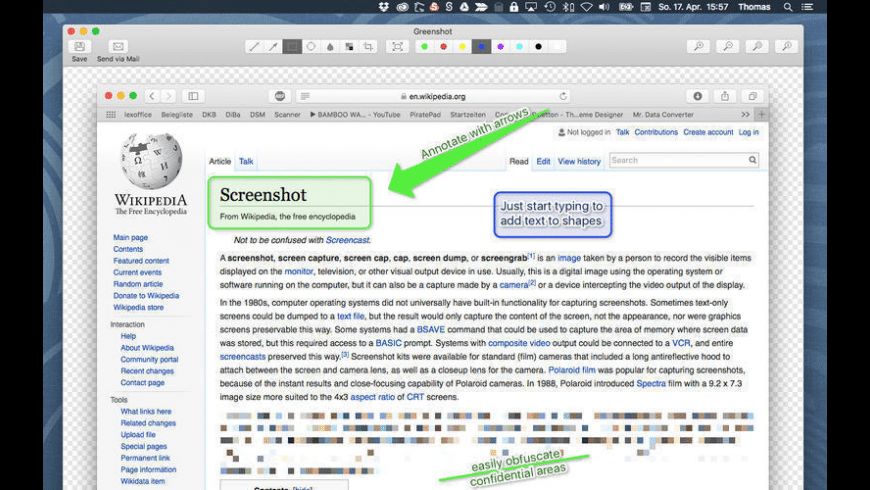
Greenshot is a free and open-source snipping tool on Mac, in which you can create a screenshot of the selected area, window, or full screen. You can also easily annotate, highlight, or blur portions of the screenshot. Moreover, it supports exporting screenshots in various ways.
Pros:
- Free and open-source snipping tool.
- Provide basic editing features to edit the screenshots.
Cons:
- You cannot open multiple screenshots at once in the editor.
- The quality of the screenshots is not very good.
Top 6: Monosnap
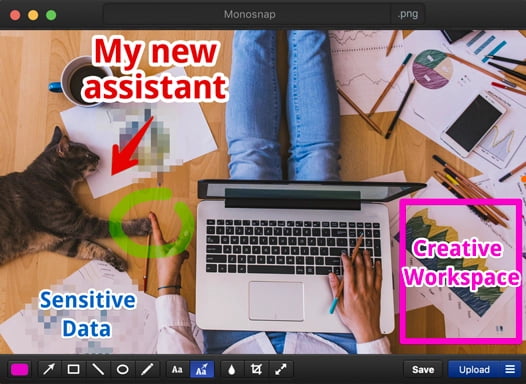
If you want to screenshot with hotkeys, you can try Monosnap for Mac. This snipping tool on Mac can create pixel-perfect screenshots. And it also provides editing features, including highlighting details, hiding sensitive data with Blur Tool, and drag/drop. Moreover, you can use it to upload to the storage and share, like Google Drive and Dropbox.
Pros:
- Support capturing the full screen, area, or window.
- Provide hotkeys to screenshot with high quality.
Cons:
- Complex operation and not friendly to beginners.
- The free version has limited functions.
Top 7: CloudApp
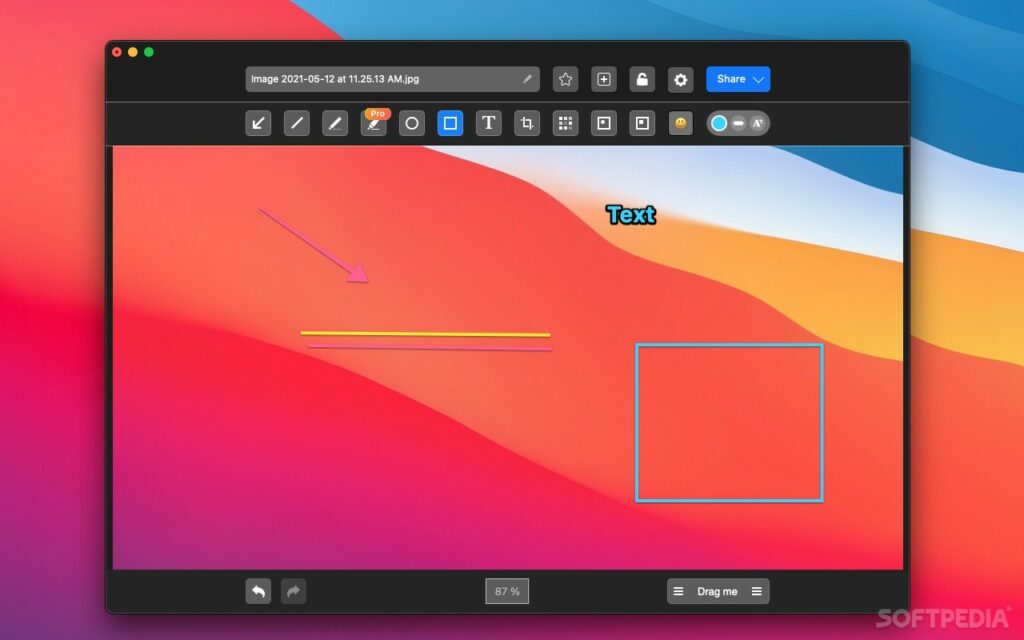
CloudApp is also a wonderful snipping tool on Mac that you can capture and record your screen and share it as a link. This tool allows you to add something extra to the screenshot, like a drop in some annotations for added context. Moreover, you can use various functions with hotkeys.
Pros:
- Support the use of different product functions with hotkeys.
- Provide editing features to add deeper context with annotation.
Cons:
- Bugs may occur during use.
- No more screen capture options, such as scrolling screenshots.
Top 8: Skitch
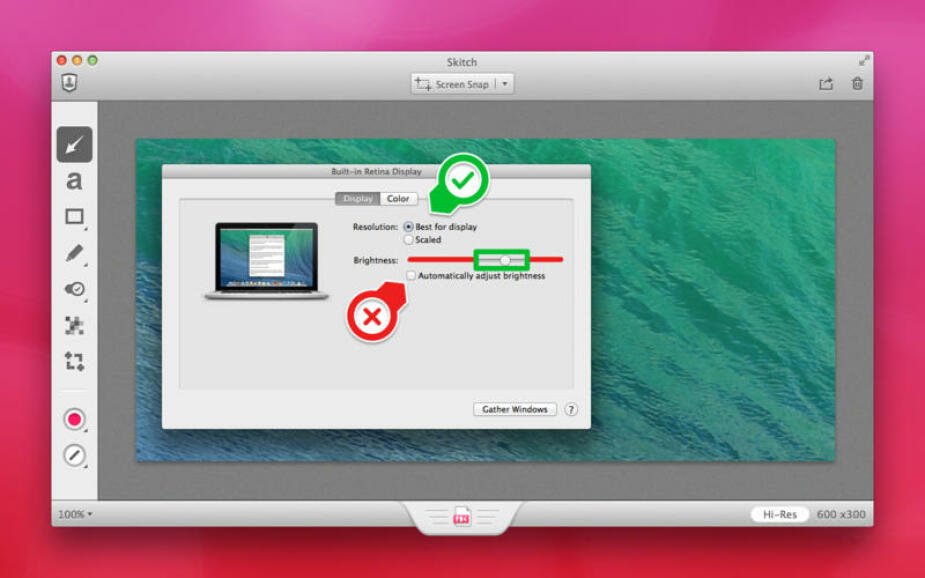
Skitch is a free and easy-to-use snipping tool on Mac that provides numerous editing tools to create accurate and attractive screenshots. You can add comments and elements such as arrows, text, colors, highlights, and so on. Moreover, it allows you to capture the whole screen or a part you want.
Pros:
- Free and easy to use for beginners.
- Support capturing the whole screen or a part of the screen.
Cons:
- The erase function is missing from the editing tool.
- This software crashes most of the time.
Part 2: Comparison of 8 Snipping Tool Alternatives for Mac
| Various ways of screenshots | Editing Features | Quality of Screenshots | Recommended index | |
| AnyRec Screen Recorder | Yes | Yes | High | 9/10 |
| LightShot | No | Yes | Low | 5/10 |
| Snagit | Yes | Yes | High | 7/10 |
| Capto | Yes | Yes | Low | 6/10 |
| Greenshot | No | Yes | High | 6.5/10 |
| Monosnap | Yes | Yes | High | 7.5/10 |
| CloudApp | No | Yes | High | 6/10 |
| Skitch | No | Yes | High | 6/10 |
According to the above table, you can see that each snipping tool on Mac has its own advantages and disadvantages. You can choose one freely according to your needs and preferences. according to your needs and preferences. Of course, if you don’t want to think too much, you can try the one with the highest score.
Part 3: FAQs about Snipping Tool on Mac
- How to blur pictures in the snipping tool on Mac?
You can use the Pixel feature in Snagit to blur photos. Then You should set the smoothing filter to 25% intensity and draw a box around the area of the picture you want to blur.
2. What are the built-in snipping tools for Mac?
The preinstalled applications, such as Grab and Preview. In addition to these tools, you can also use their default keyboard shortcuts.
3. How to capture a part of the screen on a Mac?
Through the Capto, you can click the Area button and drag to capture a part of the screen you want on your Mac.
Conclusion
That’s all. These are the 8 recommended snipping tools on Mac with different characteristics, and you can share them with your friends and choose one of them according to your needs and preferences. If you find a better snipping tool, you can share it with us.


