Clearing space on your phone can help your phone run smoother and allows you to download more media and apps.
Let’s get two things clear first before we jump into how to do that, though. Storage is the space where you keep data like photos and music. Meanwhile, memory is the resource your phone needs to run programs, like the Android system and apps.
With that out of the way, you have a few options when it comes to removing extra baggage on your Android storage space:
Quick-Peek
(1)Back up your data to cloud repository services like Google Photos or OneDrive ,
(2) Play Store > Settings > Manage Downloads > Downloaded > Remove, (3) Uninstall crash apps, (4) Cleare device cache
Android Device Storage: Some Ways to Free It Up


1. Go to your gallery or download folder to remove media. You can back up your data to cloud repository services like Google Photos or OneDrive as long as you have an active internet connection.
2. You can also remove content from Google Play from the Menu (the three-stripes icon) > Settings > Manage Downloads > Downloaded > Remove.
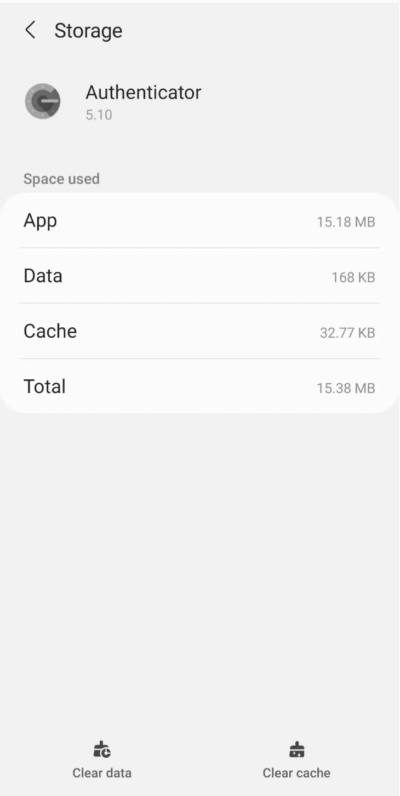
3. If you have apps that often crash or take up too many resources, you can also remove or troubleshoot them. Alternatively, you can also purge the apps you no longer use by long-pressing on an app from your home screen and select Uninstall. Or, you can clear the cache and data storage of an app. Clearing cache will only remove the temporary data saved on your apps while the latter option purges it entirely. To do this, go to Setting > Apps. Go to the individual app you want the cache or data to be removed from and choose Storage. You’ll find the options.
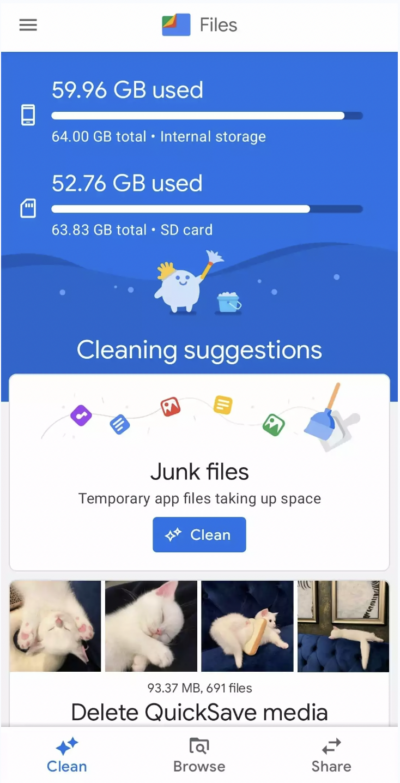
4. Last but not least, you can also download Files by Google to streamline your work.
If you want to go with the last option, here’s a brief set of instructions you can follow along:
1. After you download the app, open it and make sure to enable the app’s permission to access your files.
2. Once done, you can select the Clean tab to see the files you can purge or delete the temporary junk files that are taking your storage.
Hopefully, these solutions work out for you! Let us know if you have any further questions down below!


