How to Flush DNS cache on Your Mac or MacBook — The Domain Name System or we usually simply call it DNS is the hierarchical and decentralized naming system used to identify computers, services, and other resources reachable through the Internet or other Internet Protocol networks. The resource records contained in the DNS associate domain names with other forms of information. However, when we are using Mac or MacBook the issue related to usage can appear anytime. The root cause of the issue itself is commonly from the bug of the DNS cache. In order to fix this problem, we have to flush the DNS cache.
How to Flush DNS Cache on Your Mac or MacBook
Here are the steps of How to Flush DNS Cache on Your Mac or MacBook for you to read and follow:
Via Terminal
- First, press comment plus space.
- Type terminal on the search field and press enter.
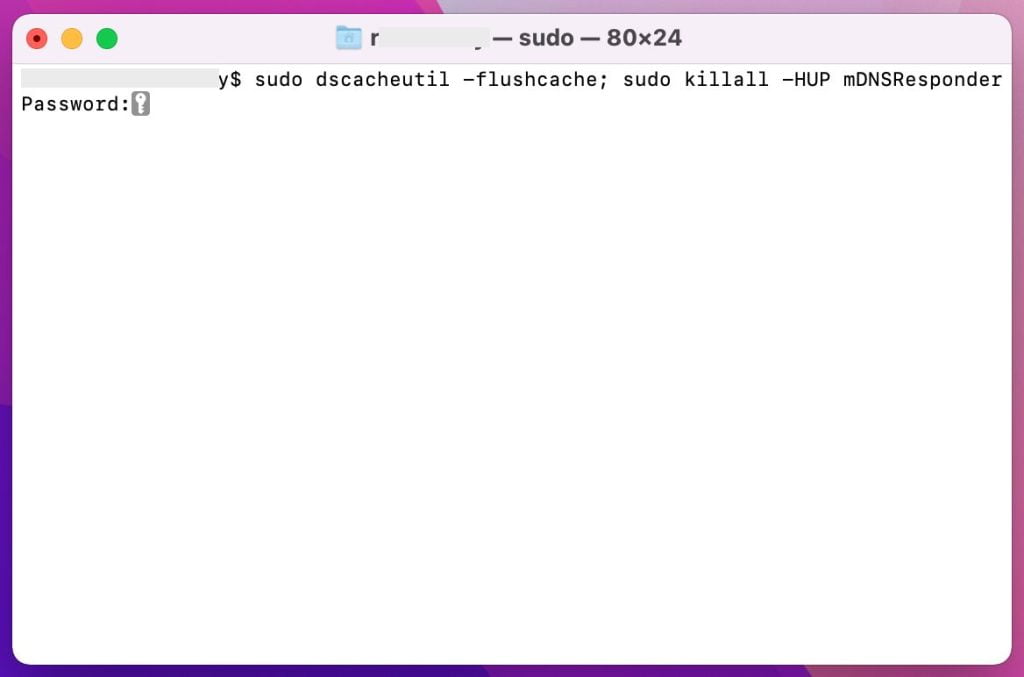
- After the terminal is launched, please copy
sudo killall -HUP mDNSResponder; sleep 2; echo macOS DNS Cache Reset | say.
and paste that command on your terminal. Please note that this command is applied to Monterey macOS. - Then, press the return key on your keyboard.
- She will be asked to enter the password of your MacBook.
- Now, hit the return key on your keyboard.
- Wait for a moment until the process is done.
- When it’s done, you can close the Terminal and access your browser.

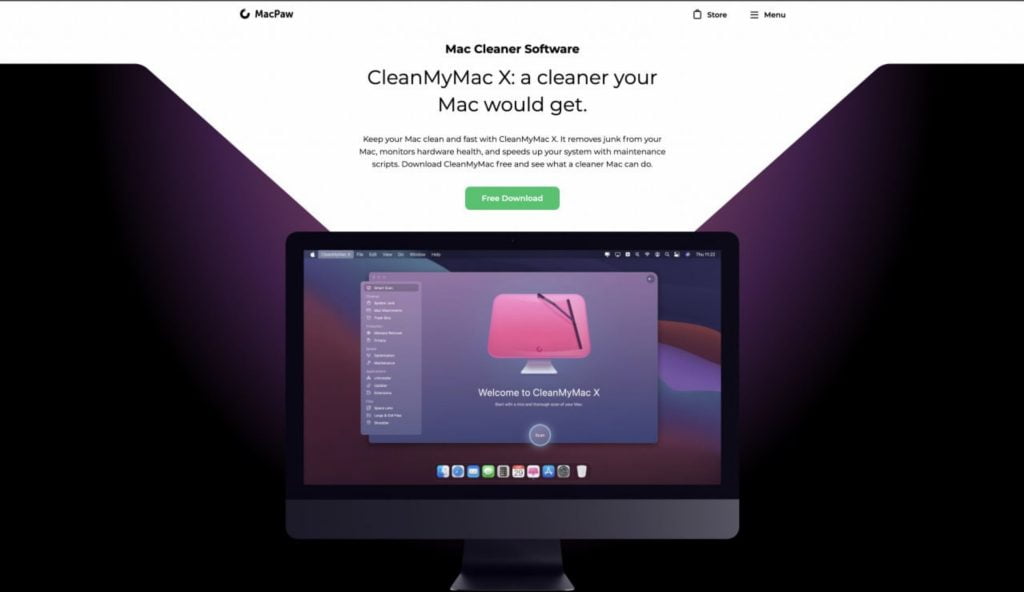
Using CleanMyMac App.
- First, you have to install the app first. Go to CleanMyMac page, download the app and install it.
- After the CleanMyMac is installed please launch it.
- Then, click the system junk on the left side of the CleanMyMac window.
- Now click the clean button on the button center of the screen.
- Wait for a moment until the cleaning process is done.
- Finish. Now you can access your browser and use it as usual without any problem.

Well, this is the last section of the tutorial. I hope you find this tutorial useful. Let your family and friends know about this article. So they can flush the DNS cache when they found a problem-related to DNS on their browser.
Let me know in the comment section below if you found any difficulties in following the steps, or if you have any questions that are related to the topic that is being discussed, I will be happy to answer and help you out.
Thanks a lot for visiting nimblehand.com. Have an extra-special, amazingly fun, undeniably awesome, super fantastic day, and see you in the next article. Bye 😀


