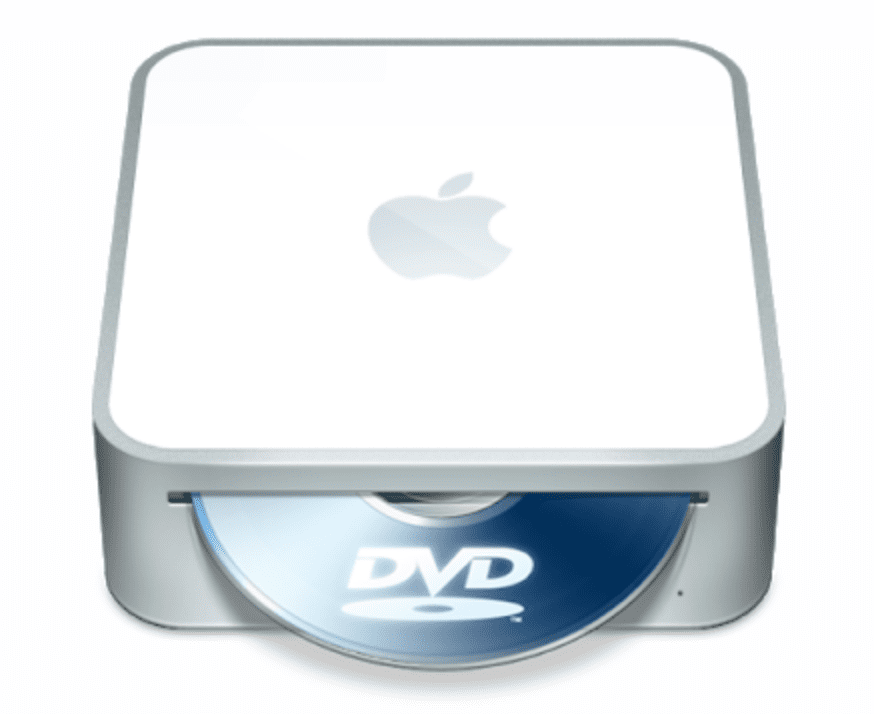
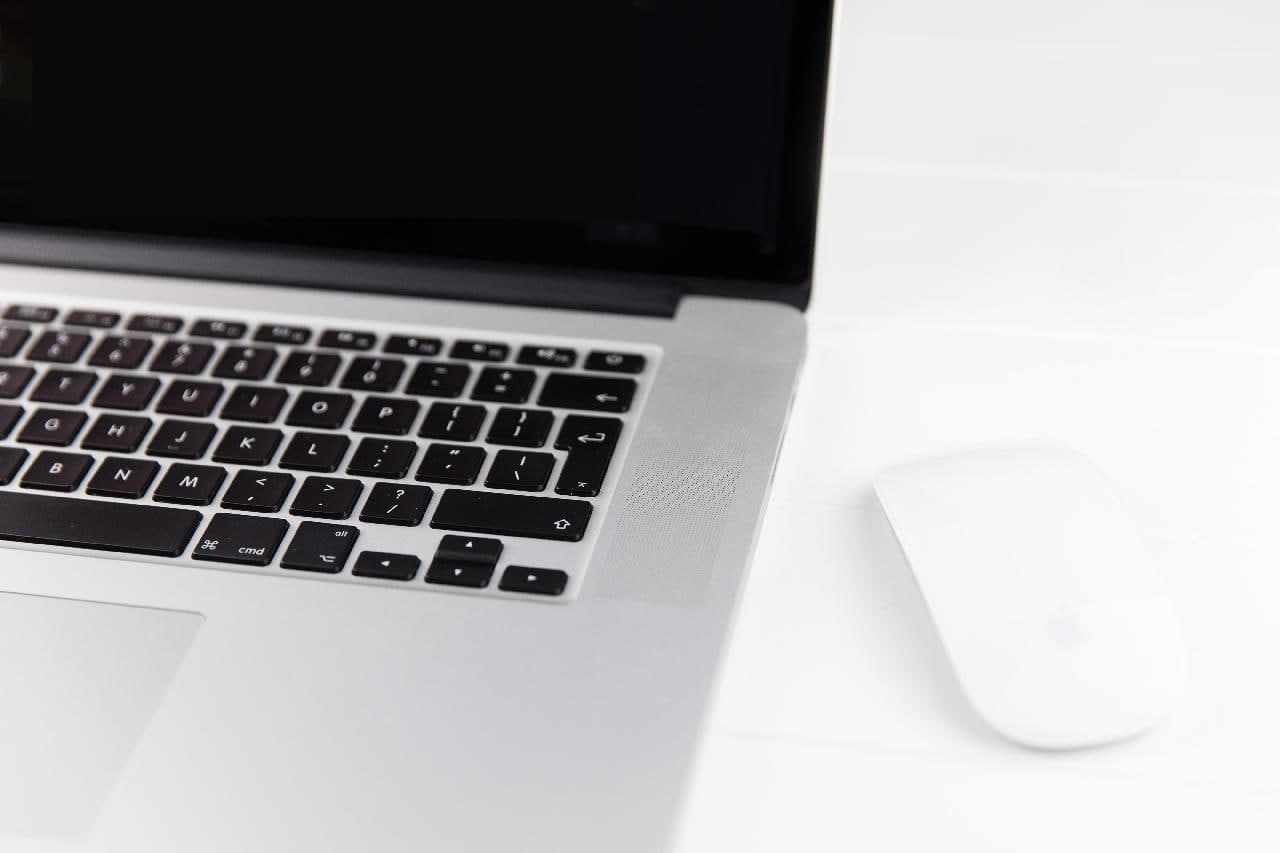
As we know that MacBook released on 2016 and later has no CD ROM anymore. It is because Apple wants to reduce the thickness of the MacBook. As the consequence, the current MacBook looks thiner than the MacBook released on 2016 and older, but for those who are using MacBook release on 2016 and older must install an external drive so that the MacBook can be used to open a CD or DVD.
Quick-Step
Open Finder > Find CD icon > Press Command + space > Type CD or DVD’s name
> Enter > Do right-click > Select Eject
It is actually quite simple to install the external drive to open a CD or DVD on a MacBook, but do you know How to Eject CD or DVD From External Drive on MacBook Easily? If you don’t know yet, I am going to show you how to do that.

The steps are actually so simple and easy. Here it is:
1. Find the CD icon on your Desktop or in your MacBook Finder. If you still find difficulty to find it, press Command + spacing, type the name of your CD or DVD then hit Enter key.
2. Once you find the CD/DVD icon, tap it once using two fingers on hour trackpad or you can do its alternative way by pointing the CD or DVD icon then pressing Control key follows by a click in a trackpad.
3. After that, choose the option Eject “(the name of your CD/DVD)”.
4. Just wait for a few moments until your CD or DVD comes out from the external drive.
5. After the CD or DVD came out, put off immediately from the external drive so that it will not be inserted automatically to the external drive.
That’s all the tutorial today. Hope it’s useful for you. If you have any difficulty or question related to MacBook usage, kindly let us know through the comment section below. Thanks a lot for visiting nimblehand.com. Stay healthy and see you on the next article. :))


